
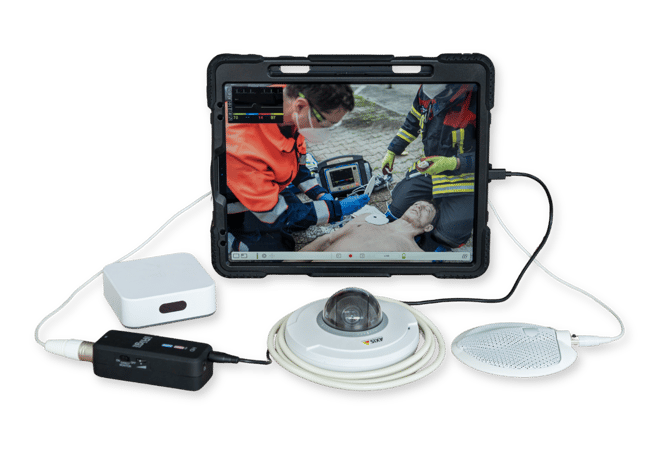
The qubeAVgo includes the following components:
- 13-inch iPad, including protective case and power adapter
- Wi-Fi router, including power adapter
- PoE injector, including connection cables (power & LAN)
- PTZ camera, including connection cable
- Power strip
- Surface-mounted microphone, including connection cable
- Preamplifier, including connection cable
- Carrying case
Using the qubeAVgo requires just a few steps:
- Plug the included power strip into a power source.
- Connect the Wi-Fi router and POE injector to the power strip.
- Connect the POE injector and Wi-Fi router using the green LAN cable.
- Connect the IP camera to the POE injector using the blue LAN cable.
- The included camera has a built-in microphone. To improve sound quality, you can optionally connect the surface-mount microphone:
- First, connect the condenser microphone to the preamp using the XLR cable. For greater flexibility, you can plug the 10-meter XLR extension cable in between.
- Next, connect the preamp to the iPad using the USB-C to Micro-USB cable.
- Set the 48V switch on the preamp to ON. Use the Gain knob to adjust the gain. The lower LED on the preamp indicates the audio level. While someone is speaking in the room, the LED should alternate between green and orange. If the LED stays blue or green, increase the gain. If the LED briefly turns red or stays red, decrease the gain.
- Next, start up the iPad. Make sure the iPad is connected to the network of the included router. You can select the preconfigured network via iPad Settings > Wi-Fi. The login credentials are located on the router. If you plan to use an additional qubeMONITOR, it must also be connected to the router of your qubeAVgo system.