The sensors do not connect directly to the monitor, although the connection is initiated there. The controller connects to the monitor, which then establishes the Bluetooth connection to the respective sensor. This is because the sensors are used on the manakin, and the monitor is usually located near the manakin. This reduces connection interruptions.
To connect the sensors, first connect qubeCONTROL and qubeMONITOR Under 2. qubeCONNECT in the Connection Center various external sensors can be connected.
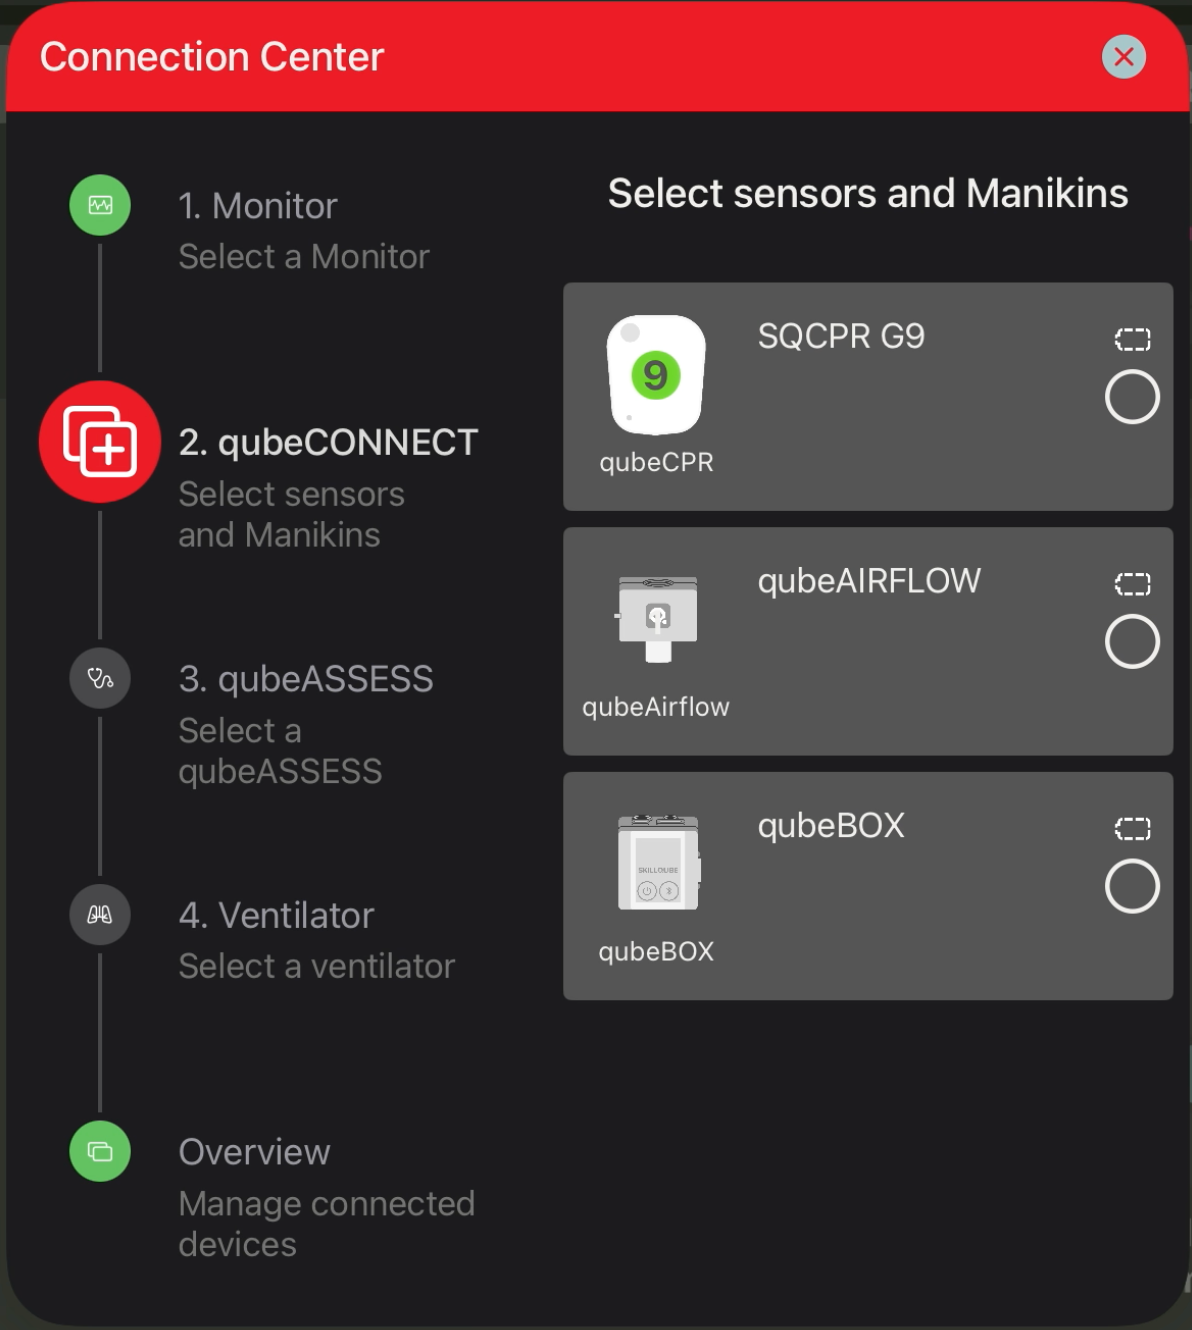
If the desired sensor is not found, it should first be connected for charging. Additionally, the qubeAIRFLOW needs to be switched on. qubeCPR-Sensors however, do not need to be switched on. If the qubeAIRFLOW turned green it is ready to connect.
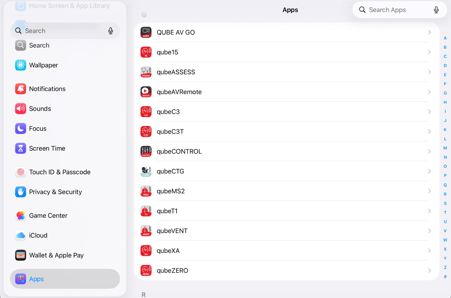
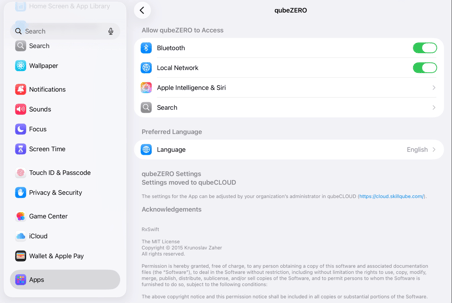
If the sensor is still not found, the settings of the monitor app should be checked. To do this, open “Settings” on the iPad, scroll down on the left side and select the entry “Apps”. Scroll down on the right-hand side until you reach the “Monitor-App”. Select this and make sure that “Bluetooth” is activated.
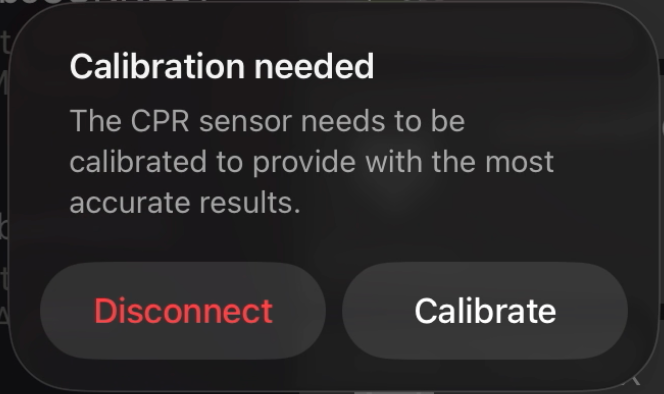
The CPR sensor needs to be calibrated when it is connected for the first time or after it has been completely discharged. A pop-up window will appear automatically. Simply click "Calibrate" to start the process. The sensor must then be rotated and tilted in 45° increments, as shown in the animation.