Once all hardware components have been successfully connected and the license has been activated, the corresponding settings can be made in the software.
Integrating and setting up audio and video sources
- Open qubeAVpro
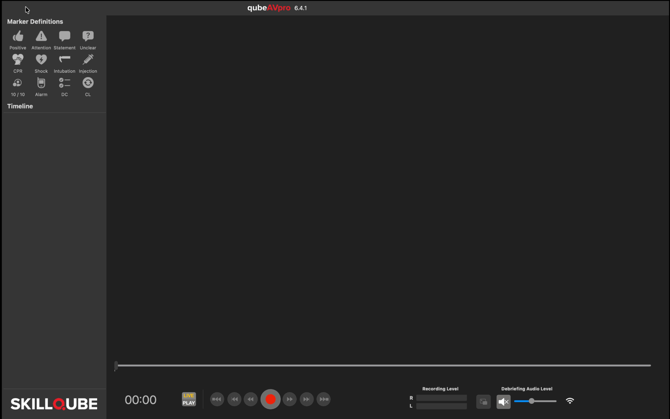
- Use the shortcut ⌘ +, or select qubeAVpro then Settings from the menu bar at the top of the screen.
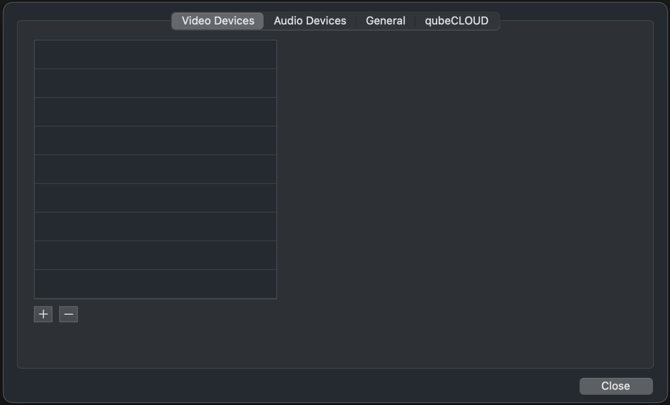
- Cameras can be added by clicking on the + in the bottom left corner. All available video sources will be displayed. When using a qubeSERIES the patient monitor can also be integrated into the system.
Notice: The qubeMONITOR must be connected to the Wi-Fi network qubeAVpro is located and the app (e.g. qubeZERO) must be open.
Here you can also select a source connected to the HDMI input. For this, select HDMI to U3 capture or CamLink 4K. Important: HDMI to U3 capture or CamLink 4K can only be used if there is a signal present at the HDMI input (HDMI in).
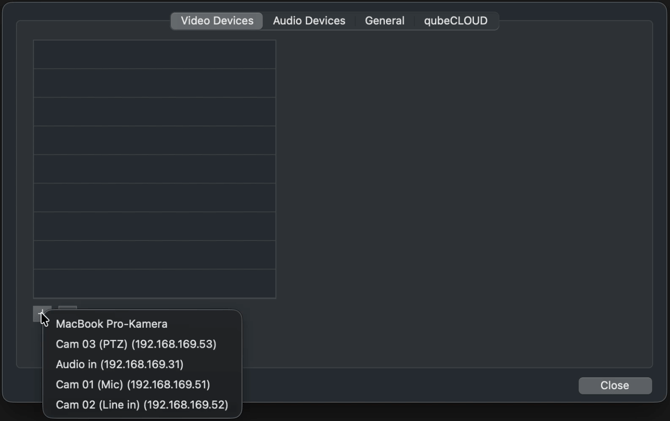
- Once the desired video source has been selected by clicking on it, it will be displayed in the list. To add further video sources, repeat step 3.
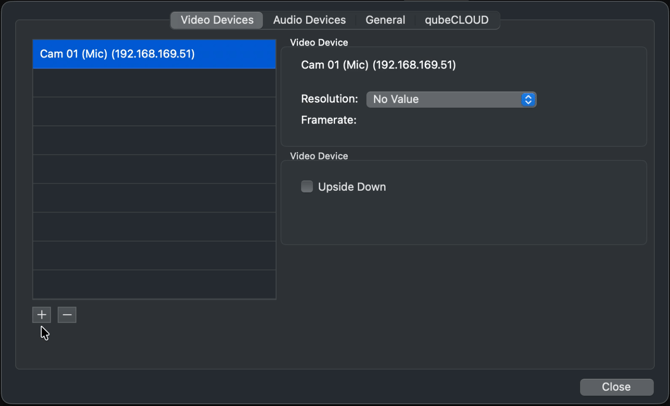
- To remove a video source from the list, click on the source to select it and then click -.
- The device that is to provide the audio signal can be selected under the menu item audio device. By clicking the + all available devices are displayed in the bottom left corner.
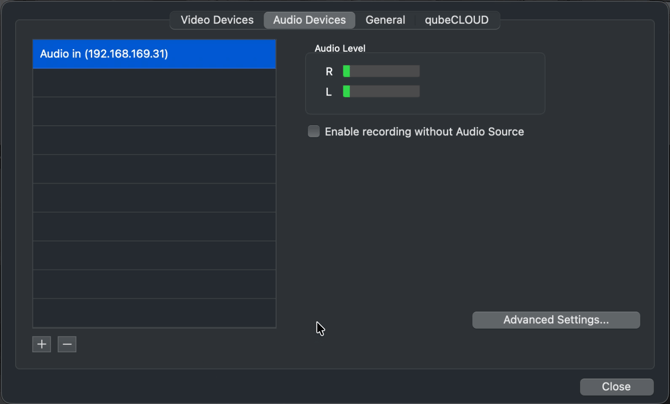
- If the audio source transmits sound, beat R and L. To verify this, noises should be generated in the simulation room.
- If the field “Enable recording without Audio Source” a recording can be started even without an active audio source. Normally, a recording without an audio source is prevented by an error message.
- By clicking on “Advanced settings…" the app "Audio-MIDI-Setup” opens. Here, among other things, a Multi-output device can be created to play the audio simultaneously on multiple devices (e.g., in the control room and debriefing room). Further information can be found at Apple: https://support.apple.com/de-de/guide/audio-midi-setup/ams7c093f372/mac
Setting the preroll
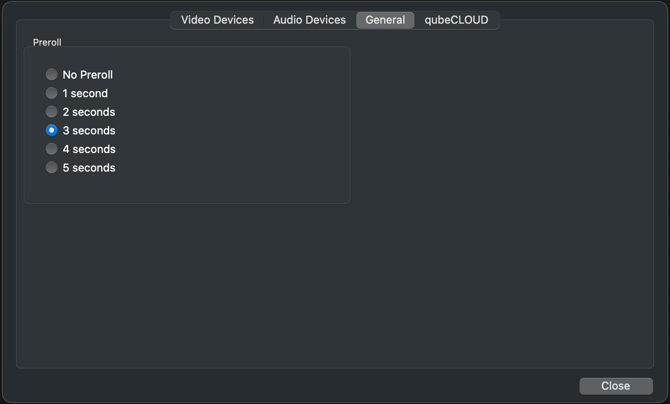
The preroll is a way to adjust the timing at which a marker is set, to compensate for the coaches' reaction and decision-making times. At the “General” submenu the preroll can be set so that the marker is automatically set up to 5 seconds before the click.
To access the submenu, the following steps are necessary:
- Click on “qubeAVpro” in the menu bar at the top of the screen.
- Click on “Settings” in the submenu.
- In the Settings menu, click on the “General” tab.
- You can now select the desired preroll duration.
Marker
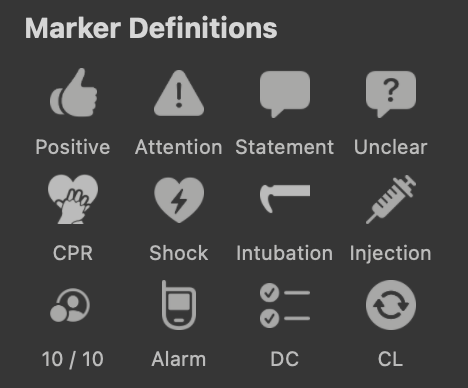
There are 12 predefined markers available. These were set up by SKILLQUBE and synchronized with the included marker keyboard. The markers cannot be edited.
Settings in the real-time view
The status bar indicates which mode the software is currently in; if “LIVE” is displayed in yellow, this indicates that the real-time view is active.
Activating Student ViewThe extended monitor (Student View) can be activated by clicking the monitor icon in the bottom menu bar; this allows observers to also view the image on the external monitor. Audio is automatically shared. The volume can be adjusted using the “Debriefing Volume” slider.
Camera settingsBefore recording, you should check the camera settings. For PTZ cameras, we recommend adjusting the camera's orientation before you start recording. You can move the camera using the arrow keys.
Connecting qubeAVproREMOTEqubeAVproREMOTE is an iPad app for remotely controlling the qubeAVpro software. It is merely an optional extension of the software’s functionality; the debriefing system can be used to its full extent even without qubeAVproREMOTE.
qubeAVproREMOTE can be downloaded from the App Store onto iPads; license activation within the iPad app is not required.
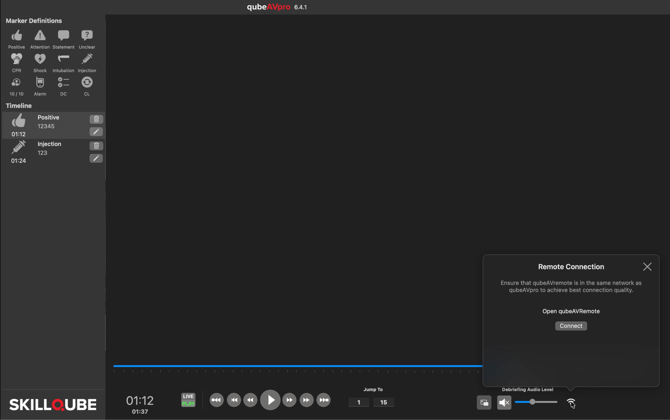
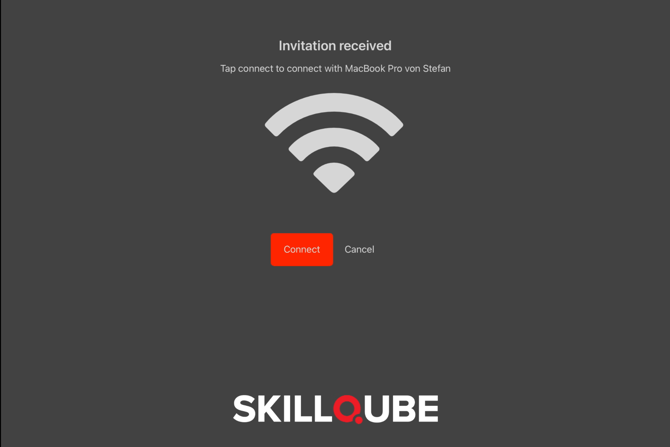
The iPad running qubeAVproREMOTE must be connected to the qubeAVpro network, and the app must be open. Then, in the qubeAVpro software, click the Wi-Fi icon in the lower-right corner and then click “Connect.” The connection must be confirmed in the qubeAVproREMOTE app.
Settings in recording mode
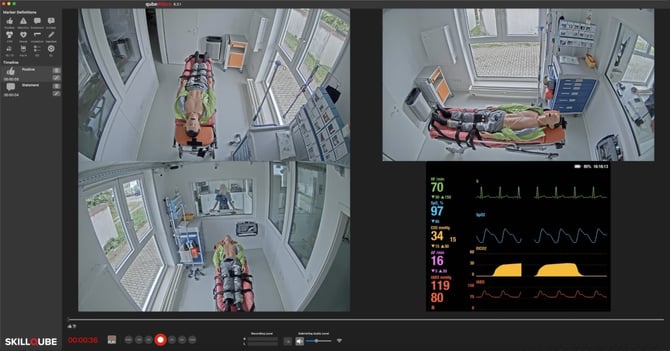
Once setup is complete, you can start recording by clicking the Record button. The status indicator lights up red and displays “REC”
- Once recording has started, the color of the button changes to a bright red.
- You can now set as many markers as you like in a recording in progress. To do this, use the included marker keyboard, the shortcuts, or the mouse to select the desired marker.
- Once a marker is clicked, the comment field opens. This comment field can be used as a reminder for later debriefing.
- Once a marker has been set, it appears in the Timeline on the left side of the screen. Here, you can delete the marker or edit the comment.
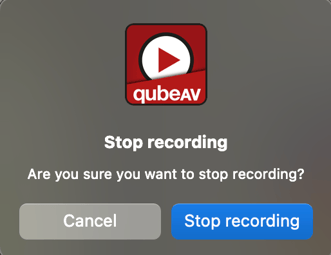
- To stop recording, press the red button again and confirm that you want to stop recording in the dialog box that appears. The screen switches to playback mode, and the debriefing can begin. The image remains blurred until the debriefing begins.
Settings in playback mode
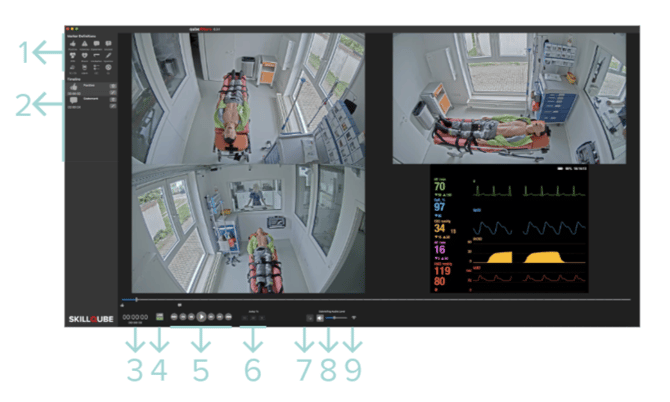
- Marker selection
- Marker overview of set markers with timestamp and comment
- Time display of the current recording
- Display Mode: LIVE / REC / PLAY
- Recording control unit: From left to right:
- Previous marker
- To the start of the recording
- 5 seconds back
- Play / Pause playback
- 5 seconds before
- To the end of the recording
- Next marker
- Go to Minute - Second Time in the recording
- Enable Student View (extended monitor)
- Volume control
- Connect qubeAVproREMOTE
When the video is paused in playback mode, a filter (blur effect) is applied to the current frame. This filter is automatically removed when playback resumes. If you need the current still image, you can click once on the current view to remove the filter.
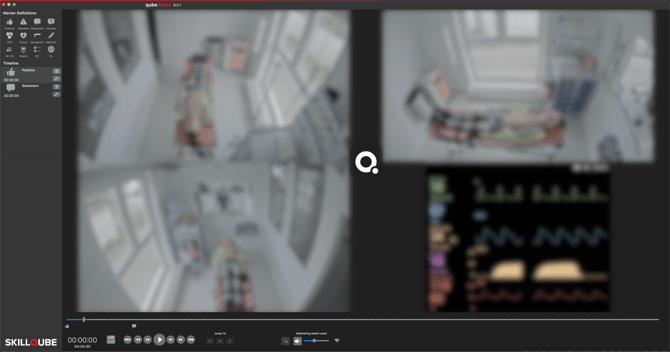
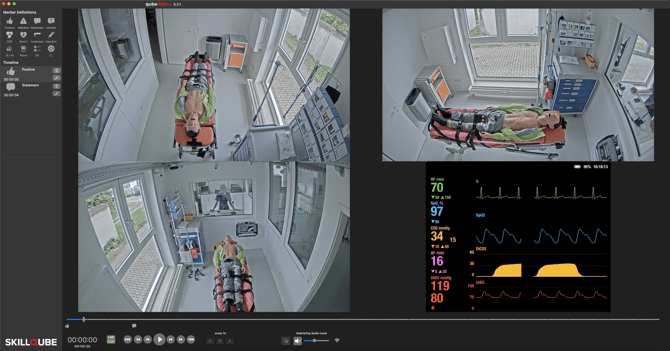
Using the tile view
You can enlarge a single window. To do so, simply click on the desired image.
In the enlarged view, you can zoom in even further. To do this, click on the area you wish to zoom in on. To exit the zoom mode, click again.
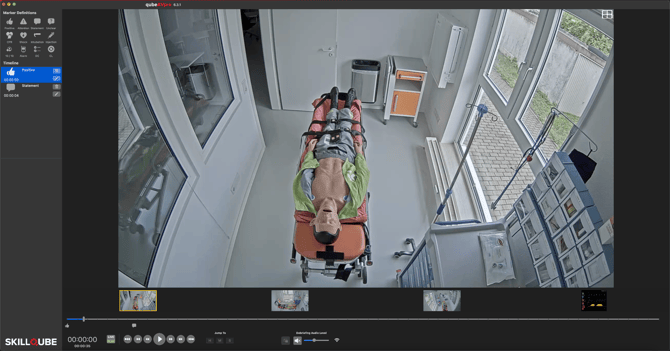
 To return to the tile view, simply click the white grid icon in the upper-right corner. Icon: white grid with four squares.
In recording mode, only the instructor can switch to the enlarged views; the audience continues to see the tiled views.
In playback mode, this allows individual images to be displayed to the audience and zoomed in on within the video.
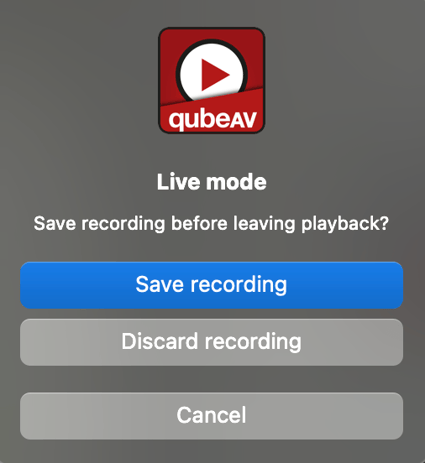
Save recording- When changing to the live view, a prompt appears asking whether the recording should be saved.
- After clicking “Save,” you'll need to select a save location.
Opening a saved recording
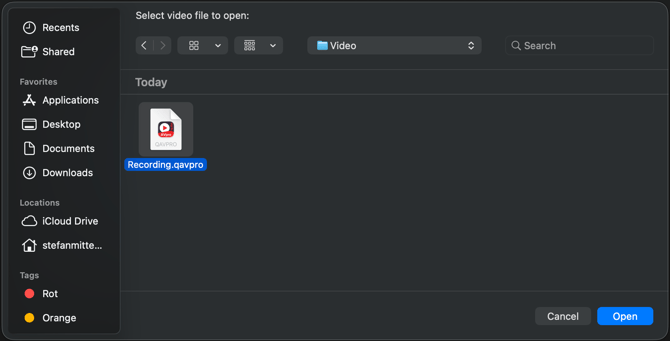
Use the shortcut ⌘ + o, or click File and Load Video in the menu bar. Select the video you want to open and click Open.
Further processing of the recordings
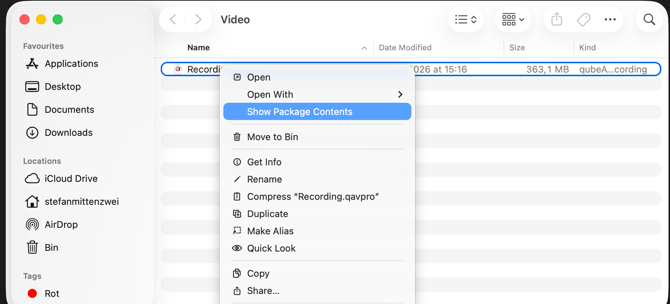
Recordings are saved in the “.qavpro” format. If the recordings are to be further processed in third-party programs, you can access the individual video tracks and the audio track by right-clicking the file and selecting “Show Package Contents”. The “.qavpro” video format can only be played back using the qubeAVpro software. Exporting to other formats is not possible with the qubeAVpro software.